Showing posts with label false lashes. Show all posts

Saturday, 9 August 2014

Ivory Lash Review

Hey guys,

Those who read my blog may know that I love false lashes and when I saw Ivory Lash on Instagram, I knew I had to try them out. 
Ivory Lash- "So this is how our story begun. Based in Sydney, we feel it is about time that affordable mink lashes are made available in Australia. We searched high and low to find a supplier that abide to our standards of quality and guaranteed no cruelty free practices. Luckily for us we found it, and we want to share this excitement with you. At Ivory Lash our mission is to enhance your naturally radiant eyes, we want all women of all ages to discover their inner goddess to feel confident and beautiful. Our products are made of the finest mink hair and handcrafted to ensure the quality of each lash. Each strand of lash is carefully placed onto a flexi cotton band to give your eyes a voluminous natural look. Mink lashes have a natural shine and luscious property that is almost indistinguishable to our own lashes. These lashes are especially comfortable for everyday use as they are soft and light as feather. No wonder mink false lashes quickly become an essential makeup accessory loved by many celebrities."
I have never tried Mink lashes before and although they are very expensive I find the quality of lashes remarkable. For everyone who has never tried false lashes before, I would recommend to try Mink Lashes atleast once and you are going to be hooked.  
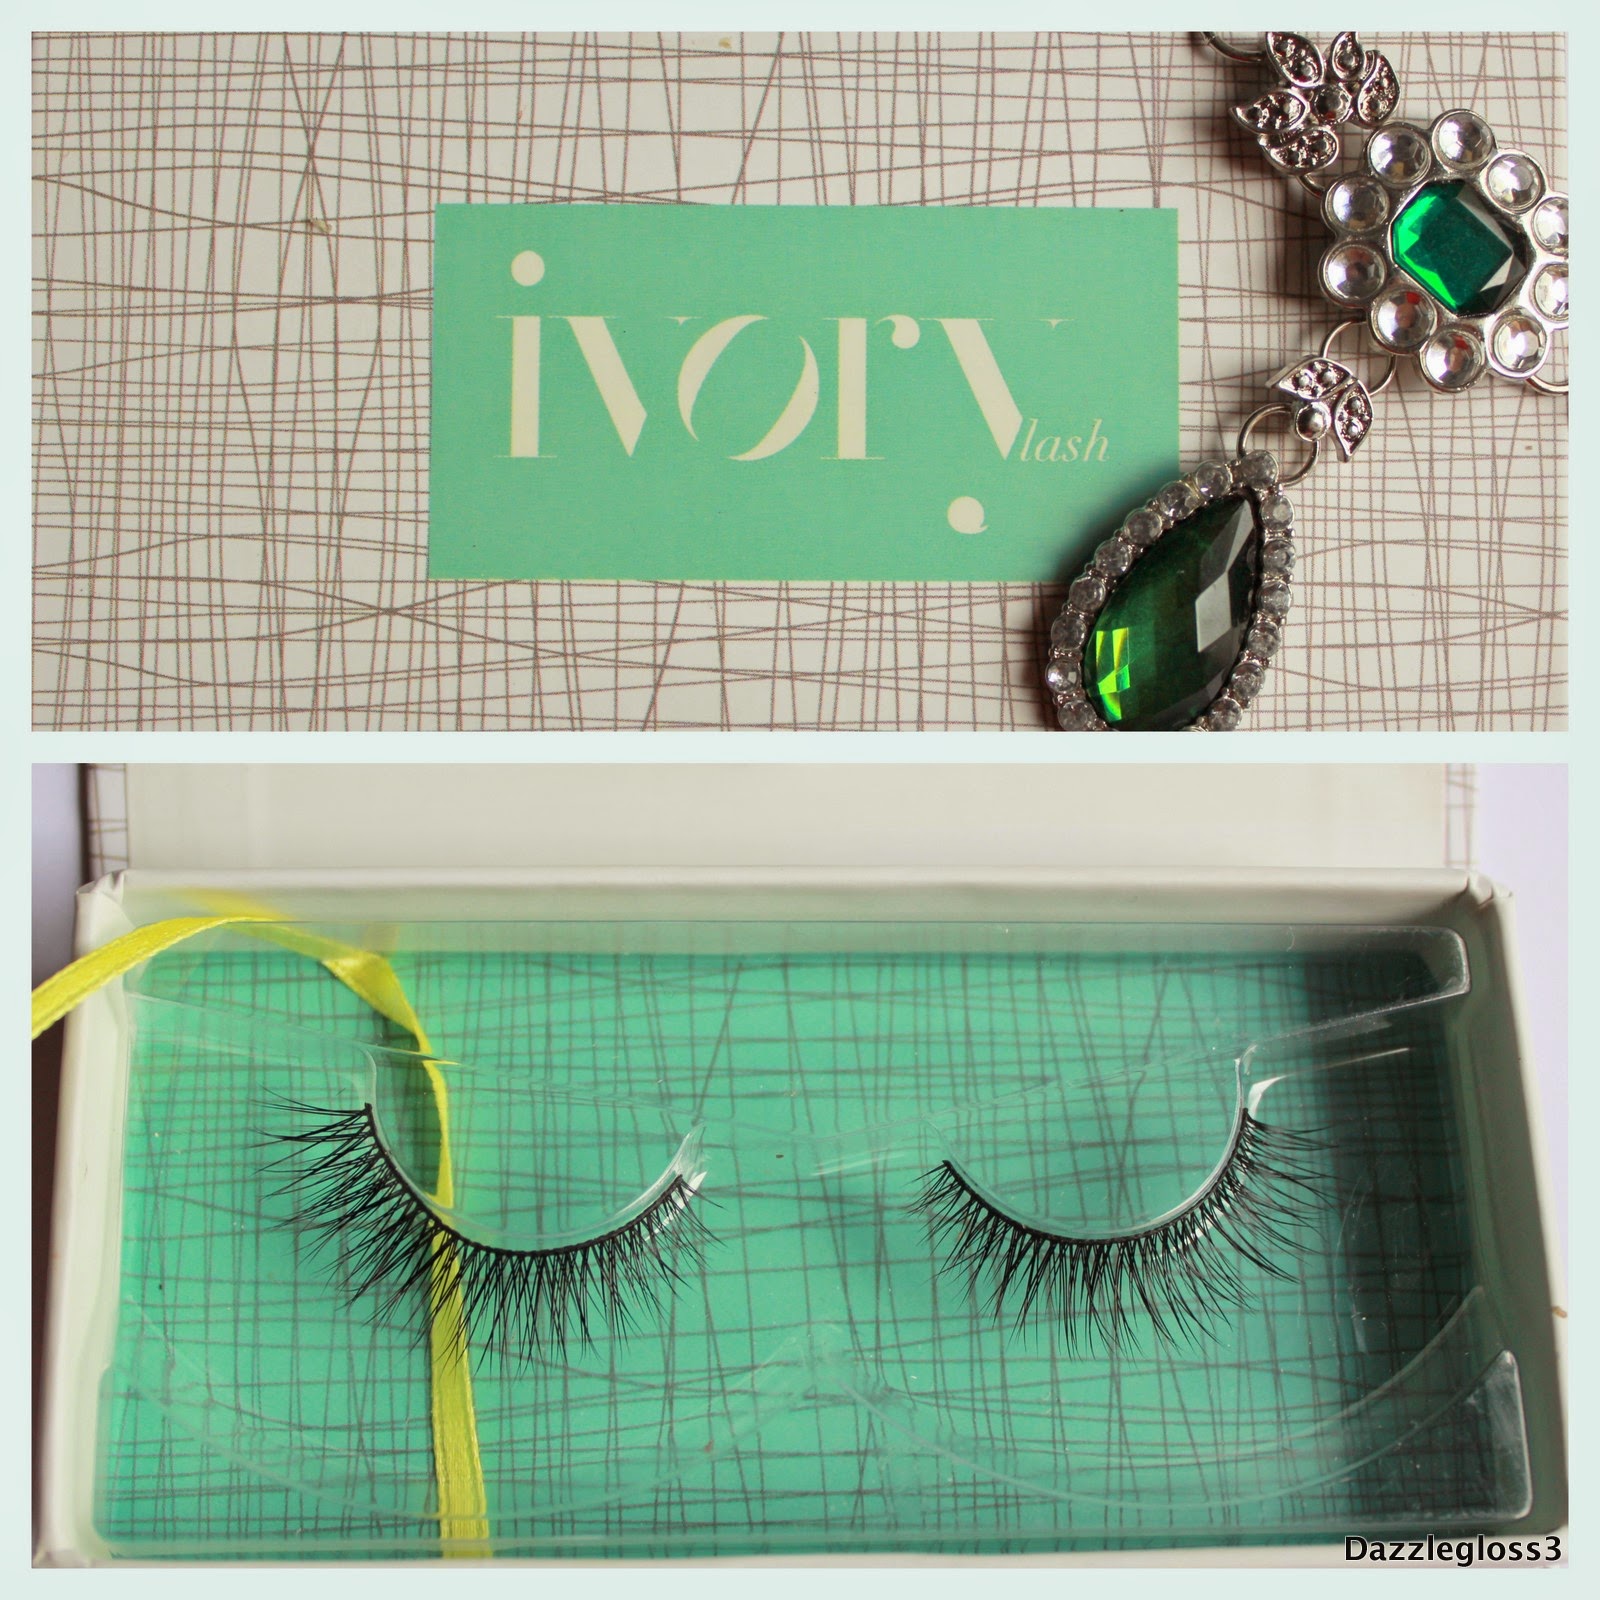

The lashes I bought are the "Smitten Kitten" from the Natural collection. They come in a neat cardboard box with a plastic insert which hold the lashes. These lashes are as light as a feather and super luxurious feeling. This particular style starts off shorter at the inner corners, cris-crossing its way to the outer corners where the strands are longer. I personally find lashes on a thick band very uncomfortable and prefer lashes that have an invisible lash band. But Mink lashes have to have some support thus are on a thick cotton band. To my surprise these lashes were very comfortable to wear and I did not even feel them on my eyes. They also blend in very naturally and don't look as though I am wearing lashes. I don't like very long lashes as they look quite unnatural on me and these have the perfect length that I look for in lashes.
These lashes are also reusable to about 20-25 times if you take care of them so that comes down to $1 per application which is not bad at all, considering human hair / synthetic lashes can be used 4-5 times and retail for half the price but come down to $3-4 per application. The picture above is after 4 uses of the lashes and they still look like brand new.


Overall I am very happy with the quality of Ivory Lash in Smitten Kitten and would definitely love to try out more styles especially from their Plush collection. These lashes retail for $25 and can be bought from here.


Tuesday, 24 June 2014

Eyelash Applicator / Tweezer Review

Hey guys, 
Since my last post was about False Lashes I thought I should have a separate post on how I started wearing falsies and what tremendously helped me master the art of applying them.
I used to be very clumsy at applying false lashes, I had tried so many brands, glues, normal tweezers (poked myself in the eye), huge bulky plastic applicators and what not, but still couldn't apply false lashes. Sometimes they just wouldn't stick on my eye or just go way above the lash line. I always had trouble applying them and totally gave up. After sometime I was just going through Jaclyn Hill's Youtube when I came across her video on how to apply false lashes. I loved how she went through a step by step process and showed exactly what to do. I then realized I was doing everything right except for how I was placing them on my eye. 


I then quickly pulled out this amazing tool, which I actually got for free when I made some Ebay order I don't even remember and used it to apply my lashes. That day was one of the most exciting days of my life. I then used a number of lashes and different glues to practice with my tool, just to get very comfortable with it. 
I found that it was easy to place the lashes on the lash line without obstructing the view or stabbing myself because there is no sharp pointed edge. The base of the tweezer helps going over the applied lashes to stick them in place. 
All in all this is a tool I recommend you to try if you are new to applying false lashes. It may look a little daunting when you look at it first but with practice I promise you can master applying falsies. For $1 you can't really go wrong. Yes! this tool costs $1 and you can buy it from here.

I swear, if it hadn't been for this applicator I would still be stabbing my eye trying to apply falsies.

❤❤❤

Friday, 20 June 2014

Social Eyes Lashes by Karissa Pukas Review

Hey guys,

Most of you would know that beauty Youtuber Karissa Pukas came out with her own Lash brand about 6-7 weeks ago and I bought a few of her lashes to try out and see how they matched up to the leading lash brands. 
We are an eyelash company based out of Sydney, Australia. After discovering  the strong need for affordable, high quality lashes in the Australian market, Socialeyes (the brainchild of Karissa and Hayden Pukas) was born! Socialeyes lashes are hand crafted from the highest quality human hair and offers a range of style for every eye shape and size. 


When I first saw the website I was a bit skeptical but when I saw the prices I couldn't stop myself from making a purchase. The lashes range from $3.95 to $5.95 and shipping within Australia and New Zealand is a flat rate of $5. They also provide International Shipping for a flat rate of $10. I received my order within 3 days, so thats a thumbs up already. The styles that I bought were Flirt, Dazzle and Delight.


 SE DAZZLE
Social Eyes Dazzle Lashes

 SE FLIRT 
Social Eyes Flirt Lashes

SE DELIGHT 
Social Eyes Delight Lashes

I must say I am very impressed with the quality and cost of these lashes. I do like the Flirt lashes more than the other two because the Dazzle is a little sparse for me ( I still like it, but love the Flirt more ) and the Delight was too packed. The Delight lashes, as you can see in the picture had a weird bend that I just could not fix. Nonetheless I am sure I will get use out of all of them. I have used the Flirt Lashes three times already and I am very impressed with how it has withheld its shape. I am sure I will get another 5-6 uses out of it. The other two lashes I have only tried on once but I am sure you can get ATLEAST 4-5 uses out of each lash if you take care of them after each application.
I think these lashes will take over the Lash market very soon because of its affordability and quality. Now I really want to try the other styles that they have to offer, especially the Ravishing Lashes. If you want to purchase any of these lashes you can here. 


❤❤❤

Saturday, 12 October 2013

Wearable Pink Eyeshadow look using Too Faced Pretty Rebel Palette

Hey guys,

I was playing around with my Too Faced palette last weekend and came up with this look. Hope you like it.


Products Used:
Too Faced Pretty Rebel Palette
Too Faced Shadow Insurance
Ardell Lashes 110
Maybelline Mega Plush Mascara

How to:
First I primed my entire lid with the shadow insurance. Then I applied the pink color in Totally Fetch on the lid staying below the crease.
 In the outer crease I placed the color Charming which is the matte dark brown and blended into the crease. 
To soften the crease I used Gangsta over Charming and blended it till below the brow.
 For the brow highlight I used Ringleader which is the pale champagne pink colour. 
I lined the upper and lower lashline using the blue shimmery shade in Badass.
Then I applied the Ardell false lashes and the Maybelline Mascara to blend my lashes with the fake ones.
This was a very easy look I achieved with this gorgeous palette and very wearable too. I personally would not wear this out during the day but for night time it is perfect. If you are bold enough you can rock this look during the day too.


I hope you all enjoyed your weekend.

Till next time,
❤


Wednesday, 2 October 2013

Maybelline Taupe Temptress eyeshadow look

Hey Guys,

Today's post is an eye look that I wear regularly when I need to get something done quickly. I have been doing this look almost every week and gotten really good at it with practice so it hardly takes me five minutes to do my eye makeup. It is simple, quick and easy to glam up your eyes effortlessly. 


The products I used are in the picture above. 
First I applied Maybelline Color Tattoo Metal in Inked in pink all over the lid with my fingers.
Then I mixed the second and third shade from the Maybelline Taupe Temptress quad and applied that all over the lid. Using the dark plum shade from the same palette I created depth in the outer third of my lid.
Using the purple shade from the Model's Prefer quad in Hook me up I blended all the colors in the crease. I added the same color to my lower lash line to balance the look.
Using the white shimmery shade from the Taupe Temptress quad I highlighted my brow bone and inner tear duct lightly.
I used false lashes for some extra drama and the one I used here are from Ardell Color Impact in 110 Wine.
For Mascara and Eyeliner I used Maybelline Mega Plush Mascara and Master Precise eyeliner.


 I love how it turned out and I hope you liked this look of mine.If you have similar colors, I would recommend you to try it out and show me how you went on with it.

Till next time,
❤


Sunday, 25 August 2013

Purple smokey eye


Hey guys,

I am back again with a dramatic smokey eye look perfect for the weekend. I did this look for a party I attended on saturday night and thought I could take some pictures and show you how I did it.
I used 3 eyeshadows for this look and they are
Inglot 73
MAC Sketch
MAC Texture
I also used a tiny bit of a shimmery pink highlight shade for the brow bone and inner tear duct.


I applied Inglot 73 to 2/3rds of my lid from the inner corner and also stayed below the crease.

MAC Sketch went to the outer 1/3rd of the lid and also used it to blend the two colours in the crease.

Above the crease I used MAC Texture to create a soft transition.

Applied the Inglot shade and Sketch to the lower lashline to connect with the upper eye and give a smokey effect.

I applied the highlight shade to the brow bone, only on the highest point of the brow and blended it either way. 

Using the same shade I applied a tiny bit to the inner corner of the eye to brighten it up.

Lined my lash line with Maybelline Stilleto eyeliner and applied False Eyelashes from Eyelene in Darling Defining which I bought from BigW. 

Then used Rimmel Sexy Curves Mascara to blend my real lashes with the false ones.

I think purples look great on brown eyes and I always tend to prefer purple over black smokey eyes. I hope you enjoyed this look and do let me know if you ever try it out. I would love to see how it turned out for you.